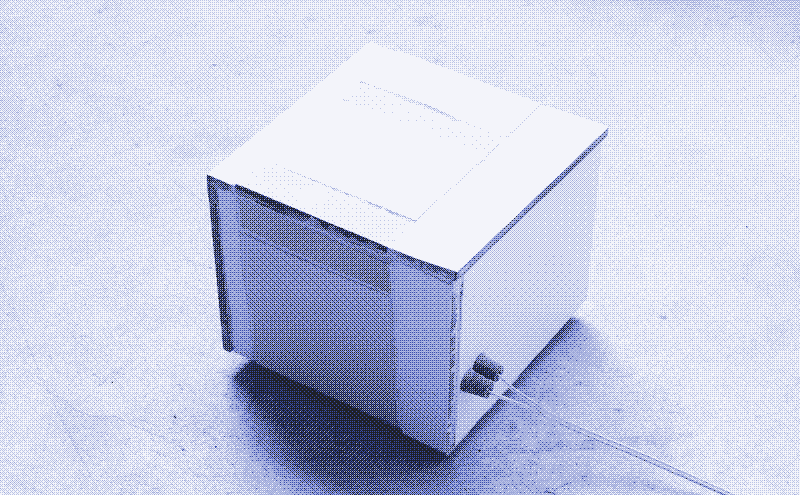
We built an electric cube heater, powered by a 100-watt solar PV panel. During the day, the solar panel slowly heats the cube, which radiates heat to its surroundings. Due to its high thermal mass, the object continues to radiate heat for hours after sunset.
Electric Foot Stove
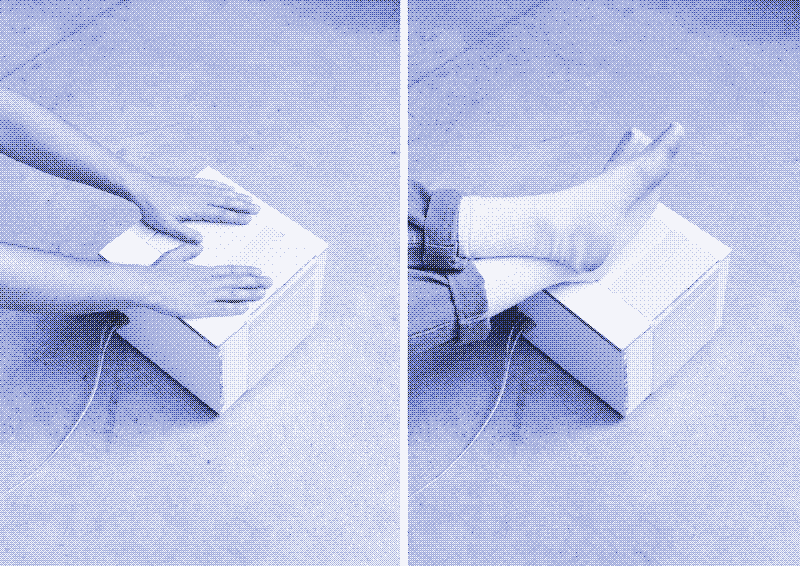
The heat cube can serve multiple purposes. You can use it as a modern variant of a preindustrial foot stove. Put your feet on the cube and throw a blanket over your lap to trap the heat.
Historically, foot stoves contained glowing sintels from the fireplace, but an electric version is safer and healthier. There is no risk for carbon monoxide poisoning or fire. The heat cube contains no flammable materials.
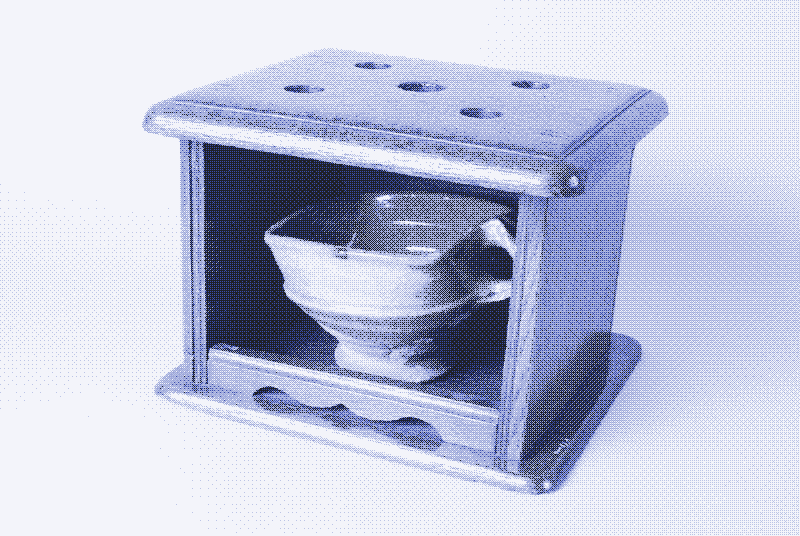
You can also put the cube under a table that has a blanket on top, and that is another method to build an electrically heated table. The heat cube can also quickly dry a pair of socks or keep a prepared dish warm in the kitchen or on the table.
Rather than storing electricity from a solar panel in a battery to operate an electric heater at night, the solar panel stores heat in the thermal mass of the heat cube itself. That’s cheaper and more sustainable, because batteries account for 70-90% of the money and energy invested in an off-grid solar PV system.
Heat can be stored for even later in the night by covering the cube with one or more wool blankets.
Bricks, Mortar, and Tiles
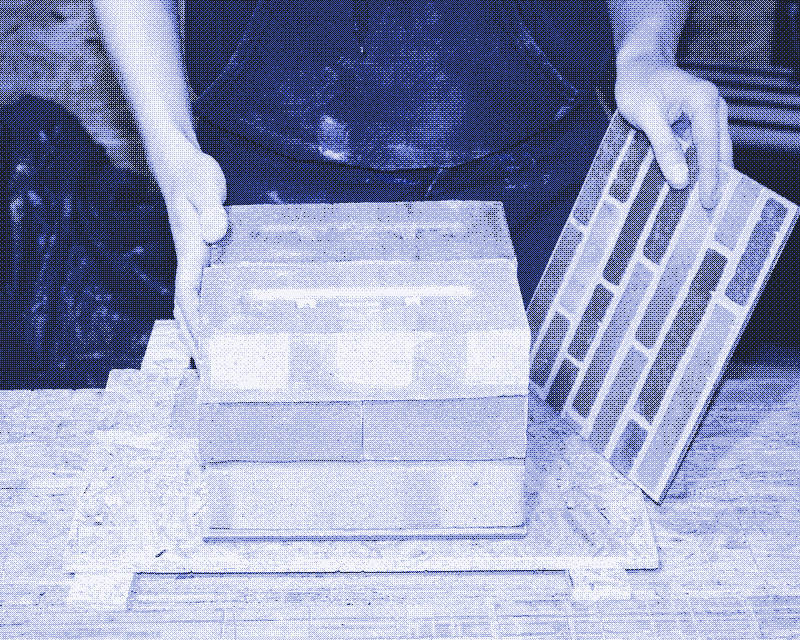
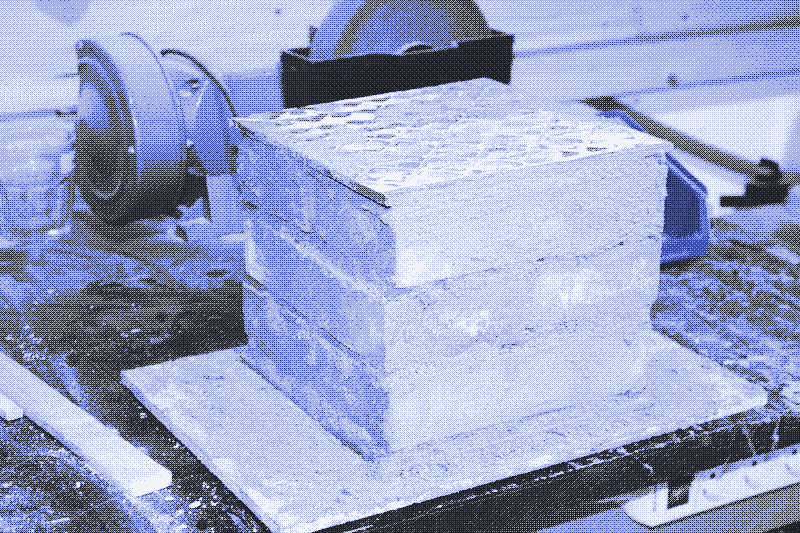
We created the heat cube using inexpensive and simple materials: bricks, mortar, and tiles. The solar panel supplies power to an electric resistance heater, which we made ourselves and which we laid between several layers of bricks. The electric resistance heater connects directly to the solar panel, without a solar charge controller or voltage regulator in between. If you add more solar panels, the heat cube also works in cloudy weather.
Electric Tile Stove
Our heat cube is relatively small (20x20x25cm), but this manual can serve to build a much larger version, which could take the form of an electric tile stove, which could include a heated bench or sleeping platform.
Tile stoves date back to the Middle Ages and accumulate heat from a biomass fire within a stone or brick mass. They are fired only once or twice per day and continue to radiate heat for approximately 12 to 24 hours. However, a tile stove can also work electrically. In that case, there is no need to add a labyrinth of smoke channels that delays the release of heat through the chimney; instead, only layers of bricks with electric heating elements in between are required. Neither do you need a chimney.

Tile stoves are very heavy, and powering them electrically doesn’t make that any better. Once built, they remain in place. Even our small cube heater is not precisely a portable device: it weighs 26 kg. If you want to move it around, it’s a good idea to put it on a wooden board with wheels mounted underneath. Make sure it can’t slide down a slope.
Solar Oven vs. Foot Stove
This solar-powered cube heater forms part of a larger collection of devices that we built, including a solar powered oven and a solar powered coffee maker. They are all based on direct solar power and heat storage rather than electric energy storage.
All these devices are inspired by tile stoves. However, while the solar oven and coffee maker are designed to keep the heat inside, the cube heater is designed to radiate heat outwards. Therefore, it is the only appliance that has no thermal insulation. That also makes it easier, quicker, and cheaper to build than the others.
Thermostat
The heat cube we built works without a thermostat. Because it has no thermal insulation, there is little danger of overheating and damage to the electric resistance circuit. It’s the room that gets warmer: the cube continues to radiate heat into its environment and maintains a steady temperature. Furthermore, the sun goes down every evening, cutting off the power supply.
However, overheating could occur when you charge the heater with one or more blankets on top, effectively adding insulation, or when you operate it on grid power using an AC/DC converter. To avoid this, you can add a thermostat, which turns off the power source when the surface temperature exceeds a preset limit.
A thermostat can also be helpful when the heat cube surface becomes too hot to touch with bare skin. However, you can also wrap a blanket around it or make a fitting cover, similar to the ones used for hot water bottles. Installing an on/off button provides you with a manually operated thermostat.
What You Need
-
Six bricks. We used refractory bricks (also known as fire bricks), which are used in high-temperature environments. Refractory bricks are made of silica and store thermal energy very well. However, regular bricks work as well, because they withstand temperatures much higher than those reached in the cube heater. Just make sure the bricks have a 1:2 size ratio, allowing you to create a pile with alternating brick layers.
-
Mortar. We used regular construction mortar, which can withstand temperatures up to 300°C. Refractory cement combined with sand and water could also work. However, it’s not a requirement because the heater doesn’t reach a temperature of 300°C.
-
Electric resistance heating element. We made a 100-watt electric resistance heater, which we fixed in the mortar between the bricks. It’s made from nichrome wire and heat-resistant electric cables. See our separate manual.
-
Tiles. We used ceramic tiles to cover the sides and the top of the cube, and a thicker floor tile at the base. The tiles radiate heat, waterproof the structure, and help to keep it together.
-
Adhesive mortar. To paste the tiles to the bricks.
-
A fuse. You add this in the positive wire between the solar panel and the heat cube. Its Amps rating should be slightly higher than that of the heating element. Read more about fuses.
-
A thermostat (optional). In contrast to the other devices in this collection, the heat cube does not have a thermal switch and thermal fuse. You could add a thermostat to regulate the temperature of the heat cube (see our manual on building an electrically heated table).
-
An on/off switch (optional). Add this when you don’t have a thermostat.

Building steps
-
Cut a large and thick floor tile into a square. Its dimensions should be bigger than two bricks lying side by side. We have more information about cutting tiles in the solar oven manual.
-
Prepare the heat-resistant circuit of 100W. Since we have three layers of bricks, we prepare two separate strands of nichrome wire to evenly spread the heat. One strand goes between the first and second layers of bricks, and the other between the second and third layers. Solder both strands to heat-resistant electric cables. Next, connect these heat-resistant electric cables in parallel. To decide the length and the thickness of the nichrome wire, and other building steps, consult our separate manual.
-
Prepare some construction mortar following the package instructions. Apply some mortar to the bottom tile and place your first brick on top of it. Add some mortar on the inner side of the second brick before pressing it next to the first brick.
-
Add a generous amount of mortar on top of this first level and place the first part of the resistance circuit, ensuring the nichrome wires are spread evenly, don’t cross, and remain in the center. Take care that the nichrome wire doesn’t come closer than 5 cm to the sides of the cube, otherwise the surface becomes too hot.
-
Cover with more mortar and layer a second level of two bricks, perpendicular to the first one.
-
Place some mortar on top of the second level before laying down the second part of the circuit. Make sure the ends of both circuits are on the same side of the cube and that the heat-resistant cable ends extend at least 5 cm beyond the cube. We will connect them in parallel later.
-
Place the last layer of bricks, perpendicular to the second level. Use the leftover mortar to fill the holes on the edges of the bricks.
-
Wait 24 hours for the mortar to cure.
-
Solder the two separate circuits together in parallel, ensuring there are a few centimeters of space left to extend the circuit with regular cables later.
-
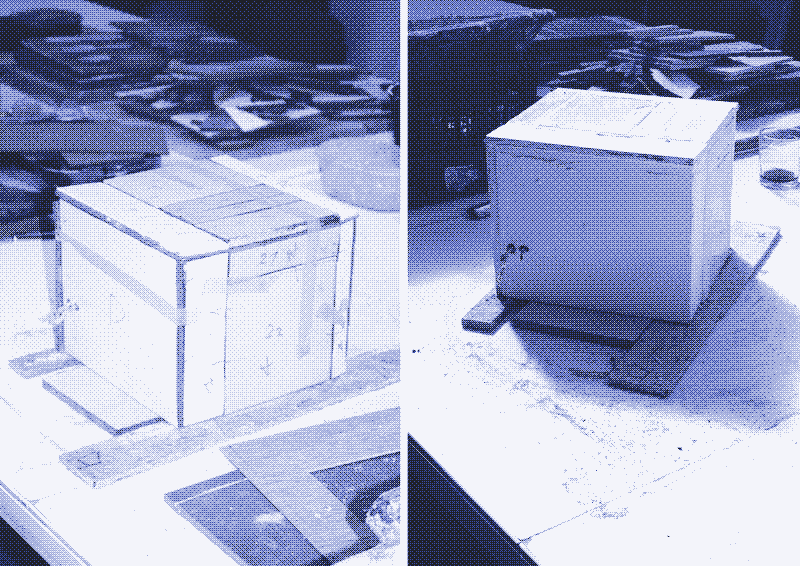
Prepare some adhesive mortar and cut the tiles for the five sides of the heating cube (except the bottom).
-
Drill two holes for the cables through the tile on the side where they stick out.
-
Apply generous amounts of adhesive mortar on all sides and cover the surface. Let it dry according to the mixing instructions.
-
Once dry, apply grout in between the tiles’ edges.
-
Connect regular electric cables to each strand to create a power supply cable. We made it 1m long. Optionally add connectors at the end of each cable. The simple resistance circuit has no polarity.
Credits:
- Concept: Kris De Decker
- Design: Marie Verdeil
- Construction and documentation: Marie Verdeil, with assistance from Hugo Lopez.
Reactions
To make a comment, please send an e-mail to solar (at) lowtechmagazine (dot) com. Your e-mail address is not used for other purposes, and will be deleted after the comment is published. If you don’t want your real name to be published, sign the e-mail with the name you want to appear.
Reactions